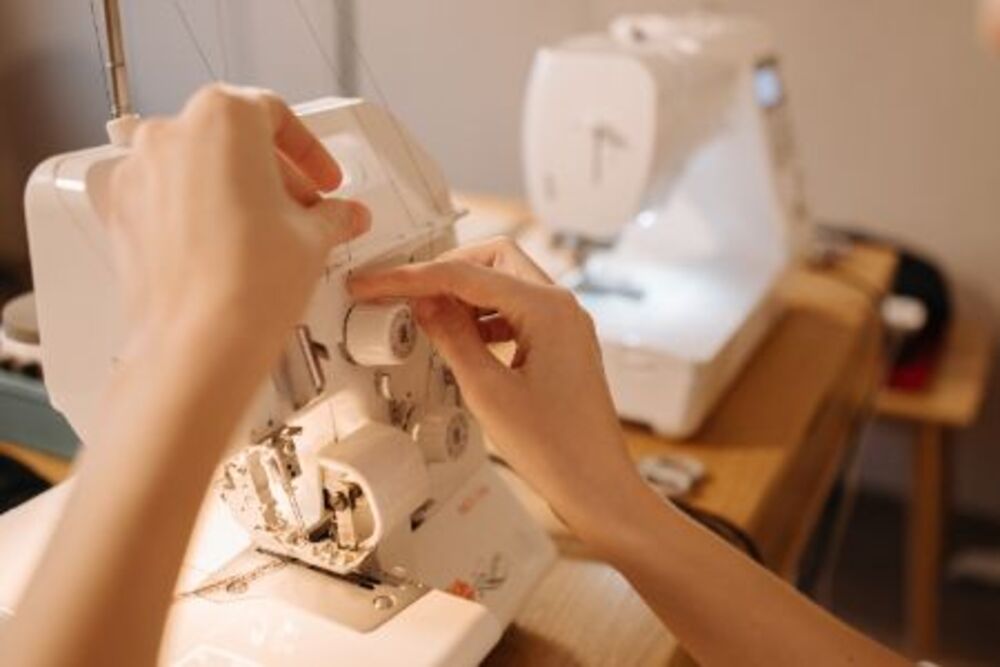
Sewing Machine Techniques For Beginners
Beginners to sewing should practice on some scrap fabric before getting their machine out and going full steam ahead. First-timers should also familiarize themselves with its components (spool pin, thread guide, bobbin winder, stitch adjustment buttons and tensile dial) in order to become comfortable using it.
Start off by practicing straight seams – they will serve you well later when sew curves! Next, learn how to set up your machine for applique or other techniques.
Applique
Applique is a form of decorative embroidery using fabric instead of thread, often seen on quilting projects, garments and home decor pieces to create unique designs. The technique can be completed both by hand and sewing machine for maximum versatility and is suitable for many different materials and projects. Check out for the best sewing and embroidery machine.
Sewing machine applique is quick and straightforward to accomplish. All it requires is a zigzag stitch setting and fabric scraps suitable for machine applique; quilting cotton fabric works particularly well when creating machine applique.
Traditional machine applique involves stitching a placement line, placing fabric over it, and stitching a second row to secure its shape before trimming away excess fabric. Although more time consuming than fusible methods, traditional machine applique is very durable. Hand embroidery may offer another solution as an option but may lack precision of machine stitching.
Stacked Trims
Stitching trims is an excellent way to add an embellished touch to any project. There are various types of trims available such as twill tape, rayon seam binding and ric rac that you can use; there are also decorative stitches specifically tailored for stitching flat trims.
As part of sewing seams, stitching over trim can often be necessary. Bias tape must be covered by fabric so it does not protrude out of the seam; zigzag stitches work best here. If your machine features stretch stitch mode (look for squiggly lines on its stitch selector dial), stretch stitches may provide better coverage than regular zigzag stitches.
Cord or string trim can also be sewn on a sewing machine, typically created from twists of cotton fibers. Used to create drawstrings, straps and ties – for optimal results it is helpful to pre tack or pin the ends in place before stitching over them – cord can also be stitched over with ease on its own or attached with thread or embroidery floss.
Backstitching
Backstitching is one of the basic sewing machine techniques. This process secures seams so they won’t come apart and also helps them look better when seen from the front side of fabric.
Backstitching can be done in various ways, and each sewist must decide which approach works best for them. One machine brand features a button with a U shape on it which you press when ready to back stitch; your machine will move back a few stitches before returning forwards again when hit the start button again.
Backstitching can also be achieved using straight lines drawn with pencil or fabric chalk on fabric, then stitching along them alternating up and down. While this method might take more practice to perfect, once it becomes second nature it should become easier.
Stay Stitching
Stay stitching is a method for maintaining fabric’s shape. This technique is particularly essential when cutting curved cuts like necklines where stretching or distortion could leave an unflattering sloppiness to the end result. Open weave fabrics tend to stretch more along their bias grain lines so stay stitching may also help them retain their form more effectively.
Staystitching should be performed immediately following cutting fabric pieces to prevent stretching from taking place. Common places for staystitching to be utilized include necklines that have been cut on an angle as well as shoulder seams which tend to stretch out over time.
Staystitching should use a smaller stitch length (such as 2.0) to achieve an even, strong line of stitches. Check your pattern instructions for guidance regarding stitch direction – as this could vary depending on what garment type it is you’re making – when sewing staystitch lines; for a neckline for instance, sew from one shoulder towards the center front as sewing in reverse could create an angular stitch which distorts fabric.